
Throwing for infielders is something that progresses as the athlete gets older and the game changes. We’re all probably pretty familiar with the progressions for teaching throwing to infielders:
- Kneel, face your partner. Make your “L”, pointing your glove to your target and holding the ball behind your head, using a fastball grip. Throw to your partner and make sure to follow through after.
- Lunge position (one knee on the ground, the non-throwing leg in a lunge with the foot flat on the ground). Again, make your “L”, throw to your partner and follow through. This progression begins to get the hips into the throw.
- Standing throw.
- Long toss.
How does this translate to fielding? We teach the athlete to field the ball and trap it in the glove with the throwing hand. As they step forward with their glove leg, they transfer the ball to their throwing hand, making their “L”, and throw the ball to the desired infielder.
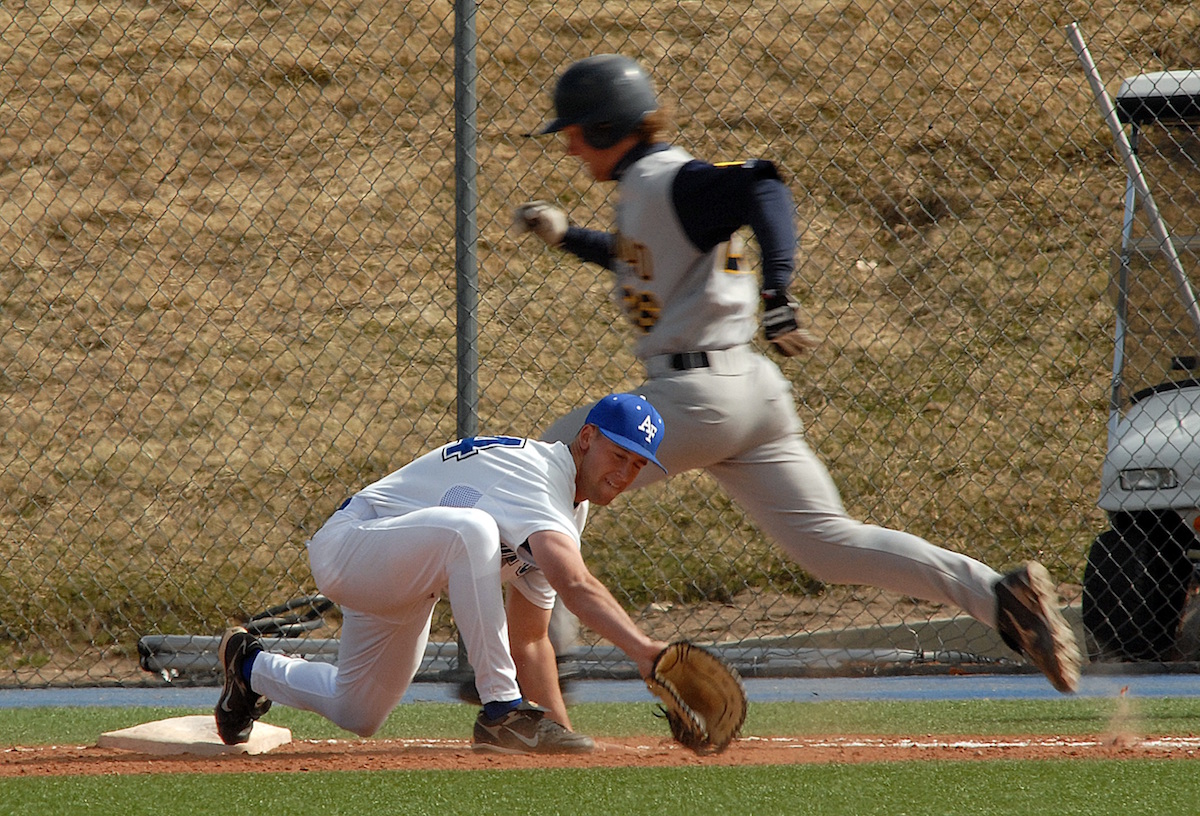
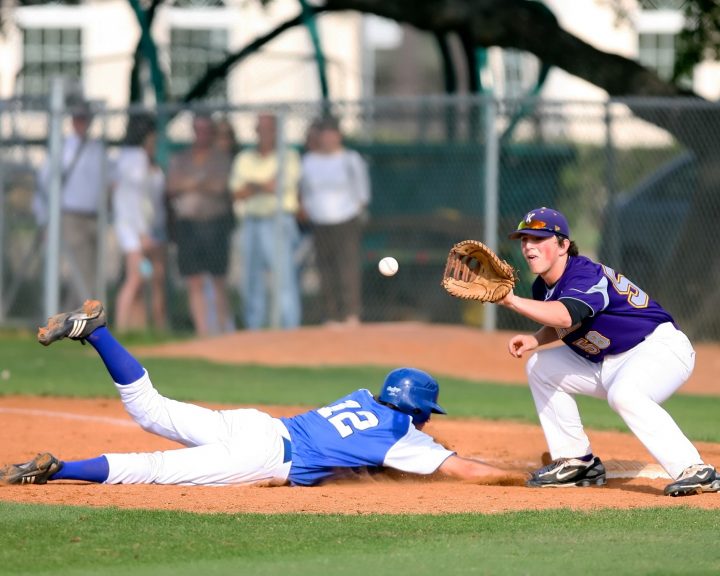
However, there are times, especially as athletes get older, when this doesn’t work and it isn’t appropriate. For example, there is a play at second base. The ball gets hit to the second baseman. While he’s fielding the ball, the short stop moves to second base to cover it. It’s not appropriate for the second basemen to make his “L” and haul off for a hard throw. At this point it’s appropriate lighter, like an underhanded toss. But having said that, a game can’t be the first time that it’s attempted – the situation and the skills have to be broken down and rehearsed in practice.
Here’s another situation. There’s a play at first base. The ball gets hit to the second baseman. It’s too far for that underhanded toss, but not far enough to warrant making his “L” and throwing to first. A sidearm throw would be appropriate here. Again, it has to be practiced to work.
So, several progressions for infield throwing and youth baseball players:
- Typical throwing (i.e. make your ‘”L”)
- Situational underhanded toss
- Situational sidearm throws